I got this idea from a library book about paper crafts, and learned that découpage is all about gluing paper to other things. That seemed perfect for me.
Right to the point: Grab a jar, bathe it in a paste mix (half water, half glue), add tissue paper, add another layer of glue, and let it dry. Walk away. You are done.
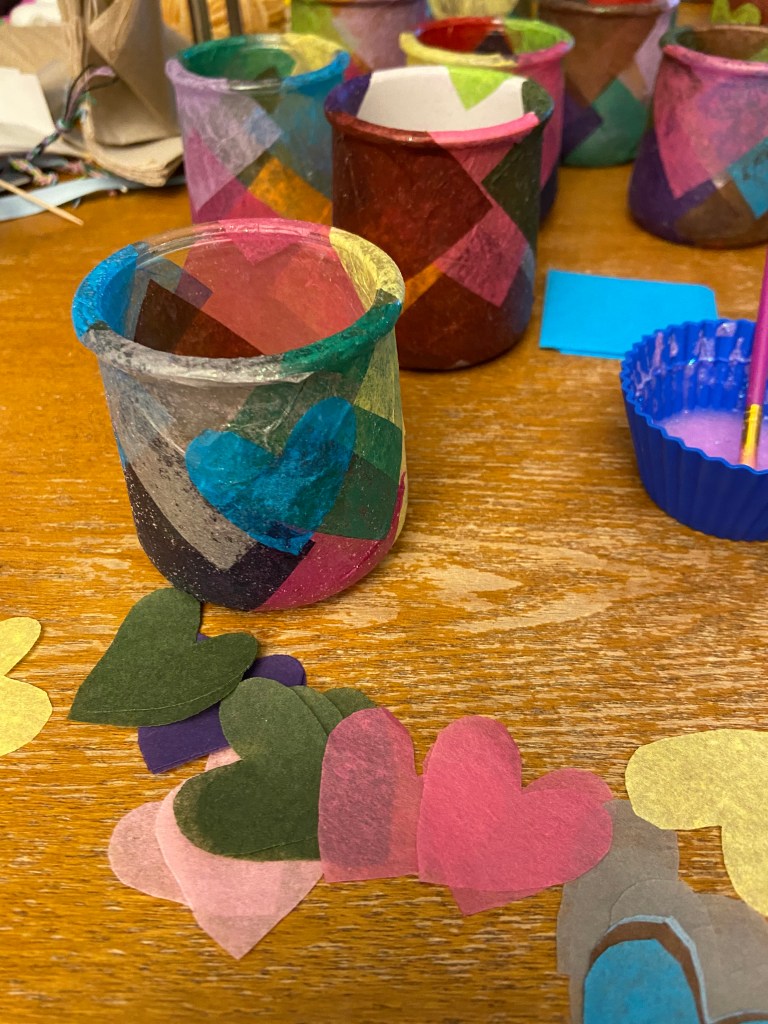
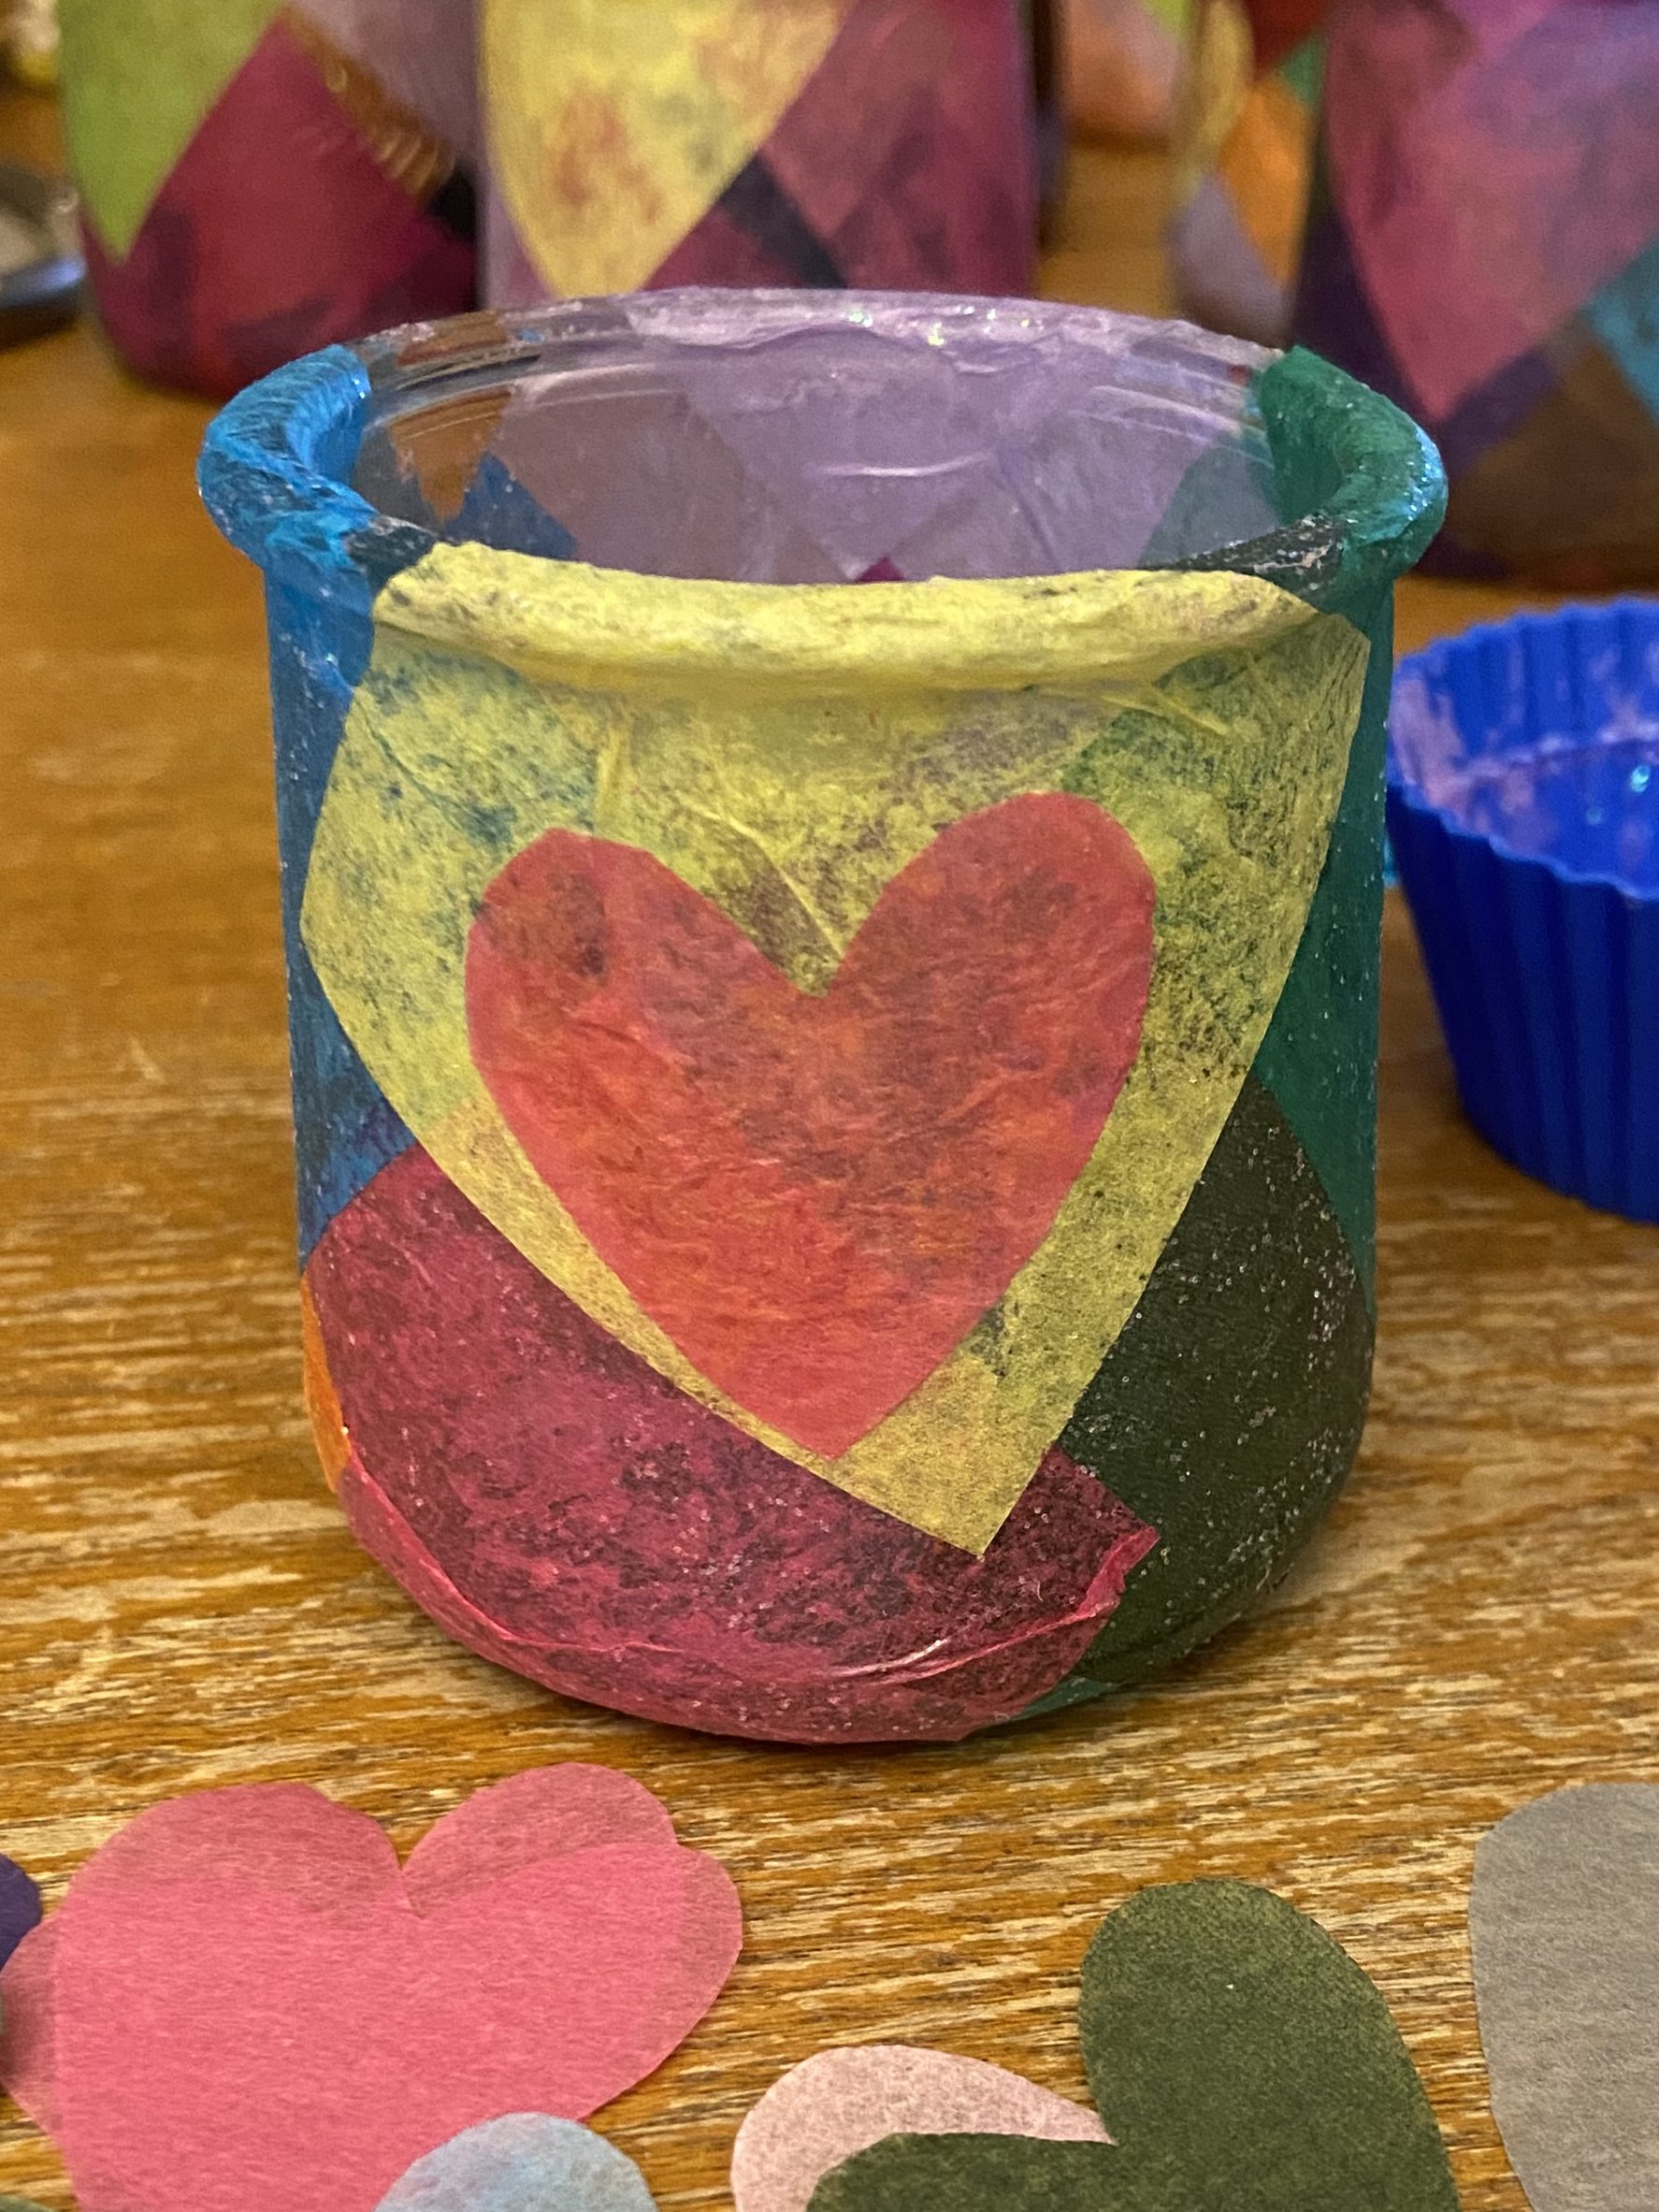
I think you can découpage many different types of materials, but I went with these leftover yogurt jars. For the glue, I found some fancy glow-in-the-dark Elmer’s glitter glue in our drawer. I think it was originally meant for an abandoned slime project.
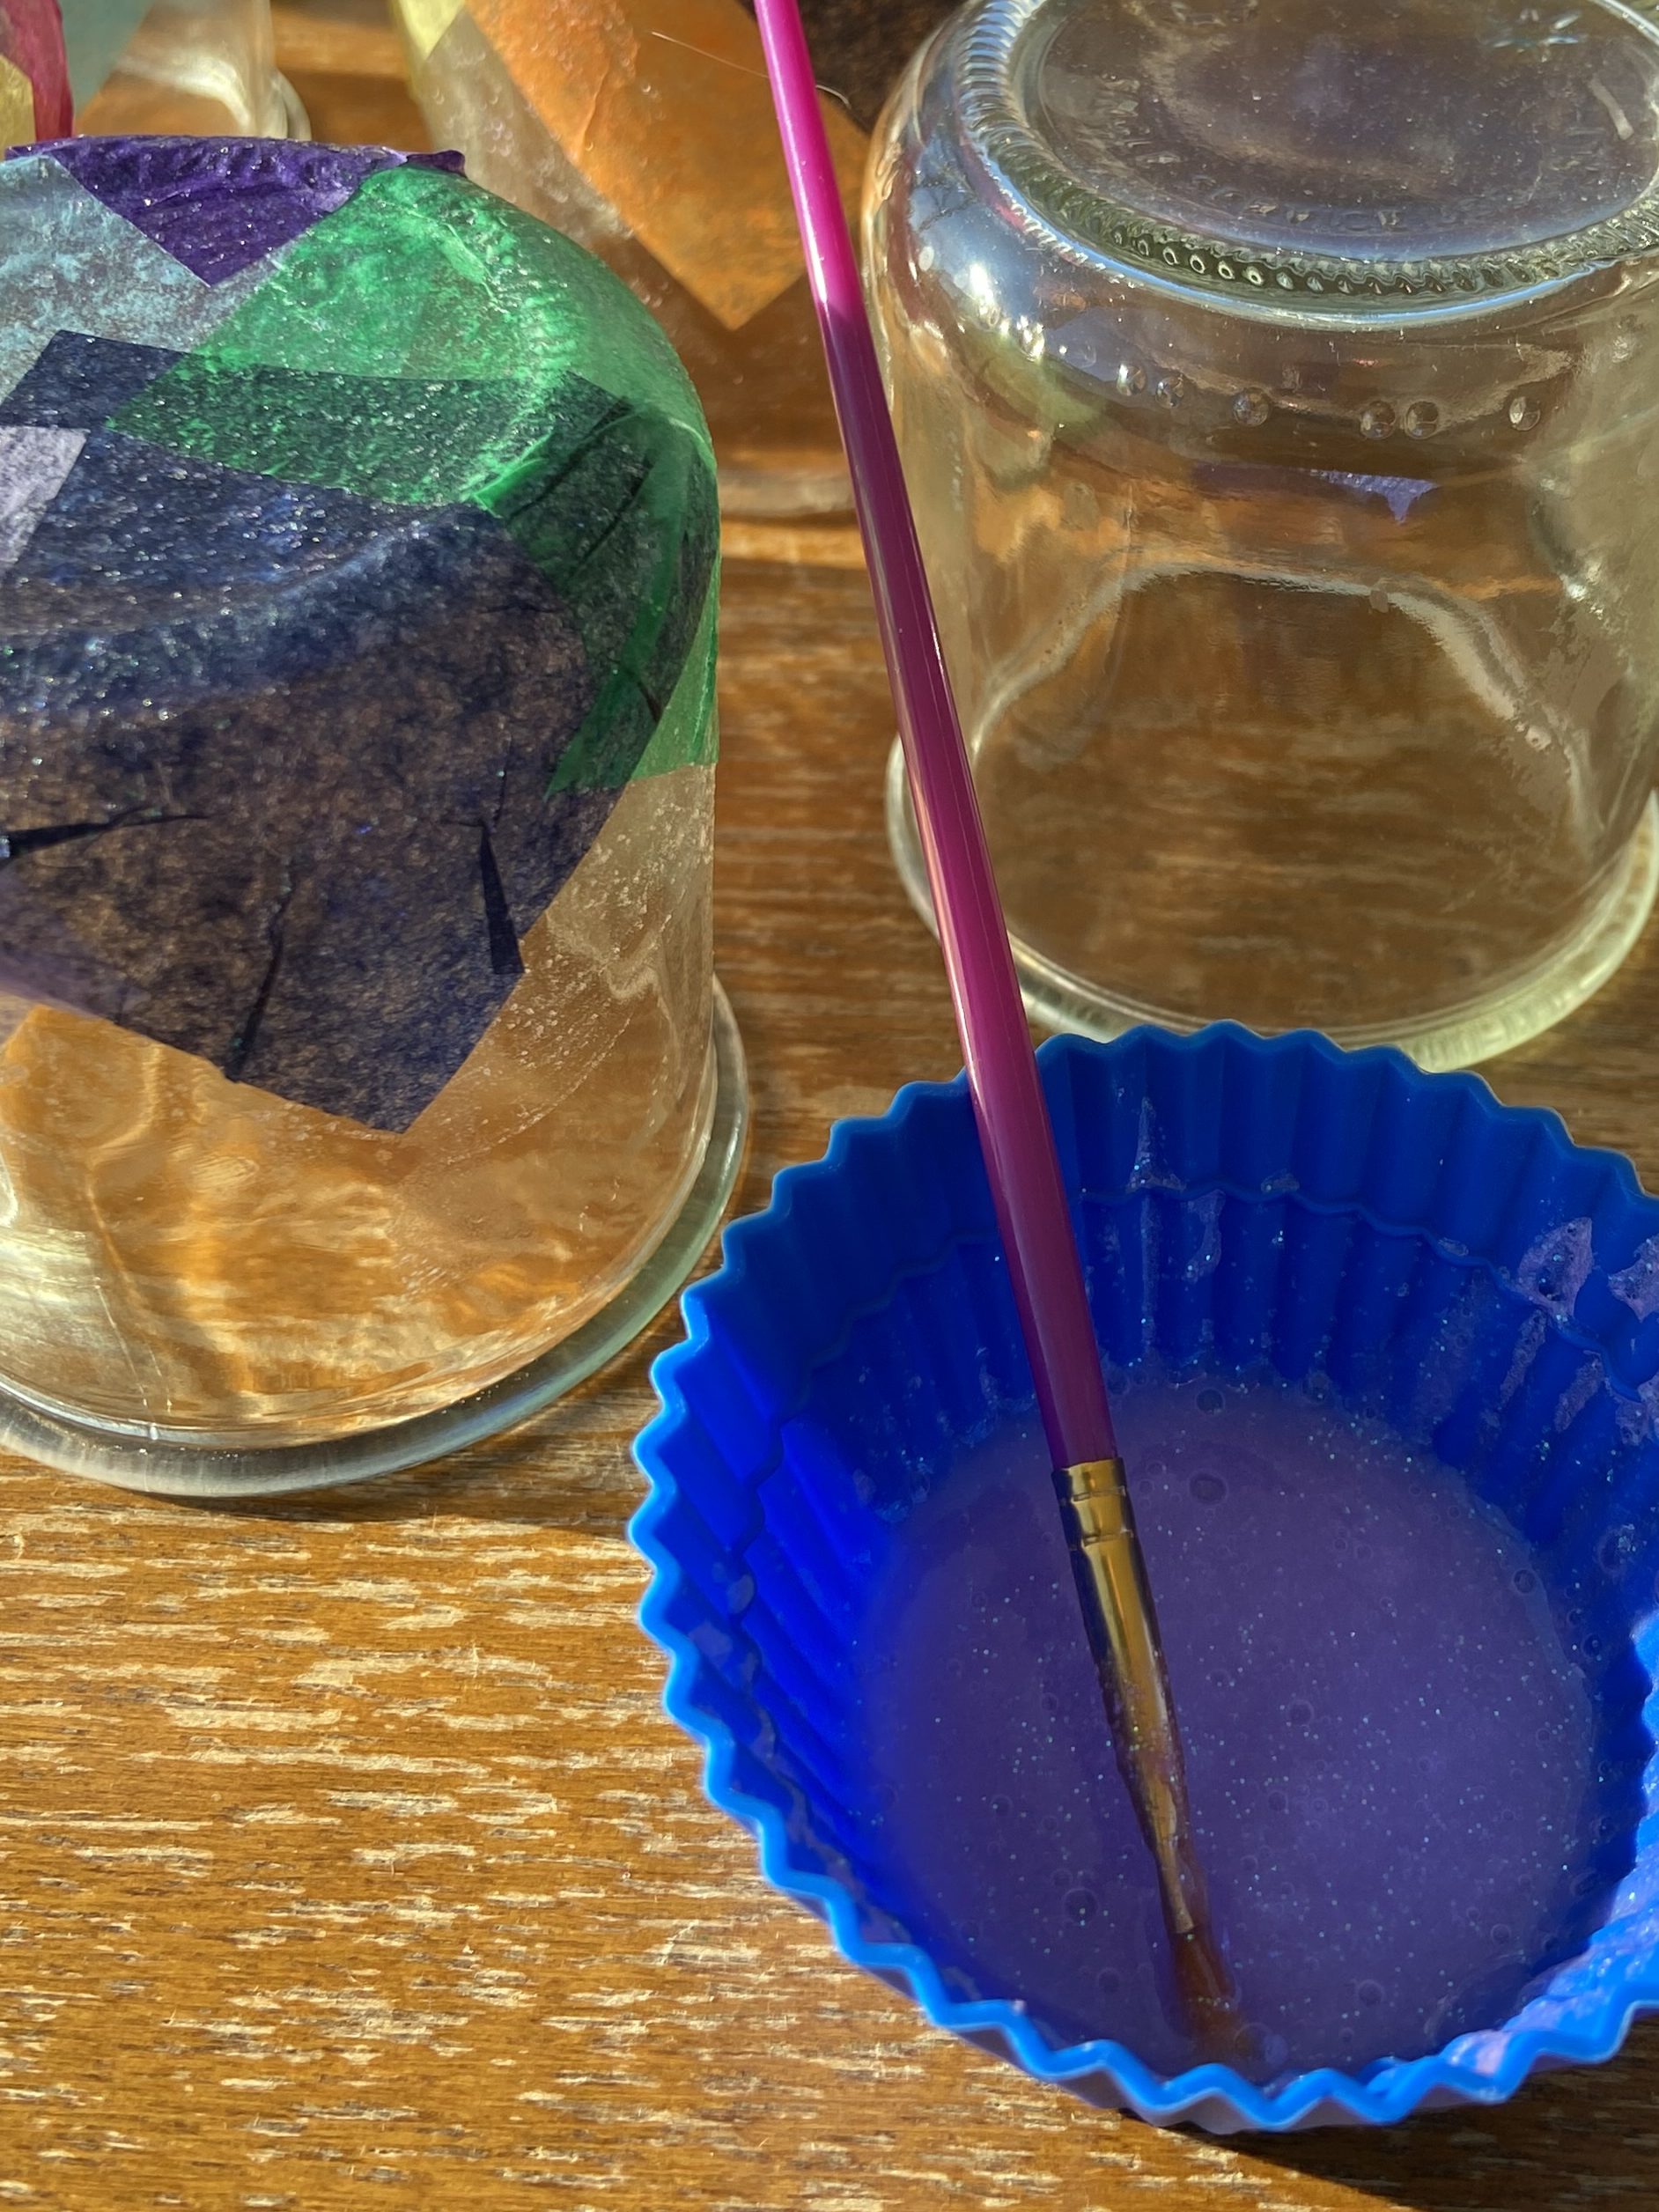
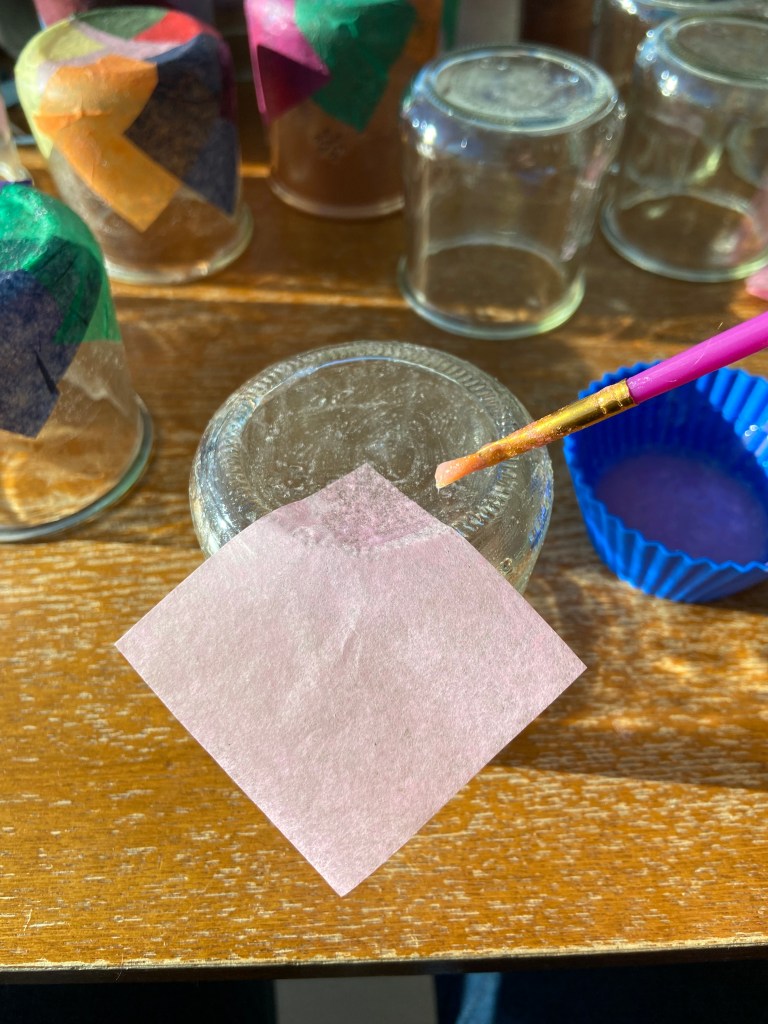
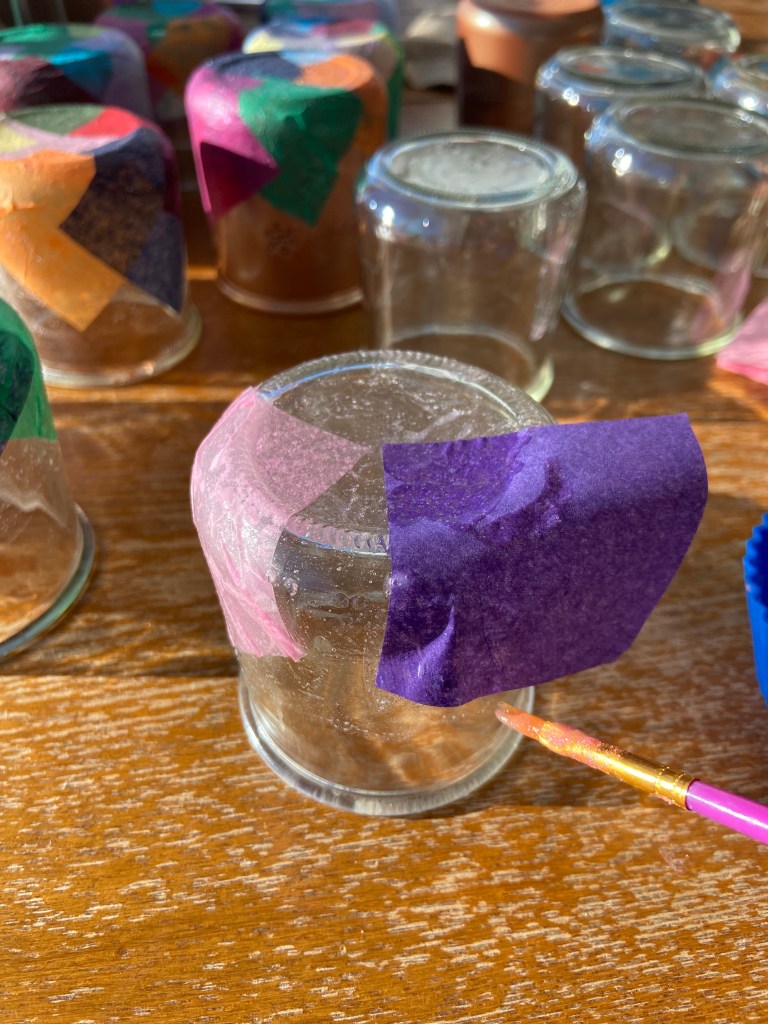
I mixed equal parts of glue and water, and then spread the paste on an upturned jar with a paintbrush.
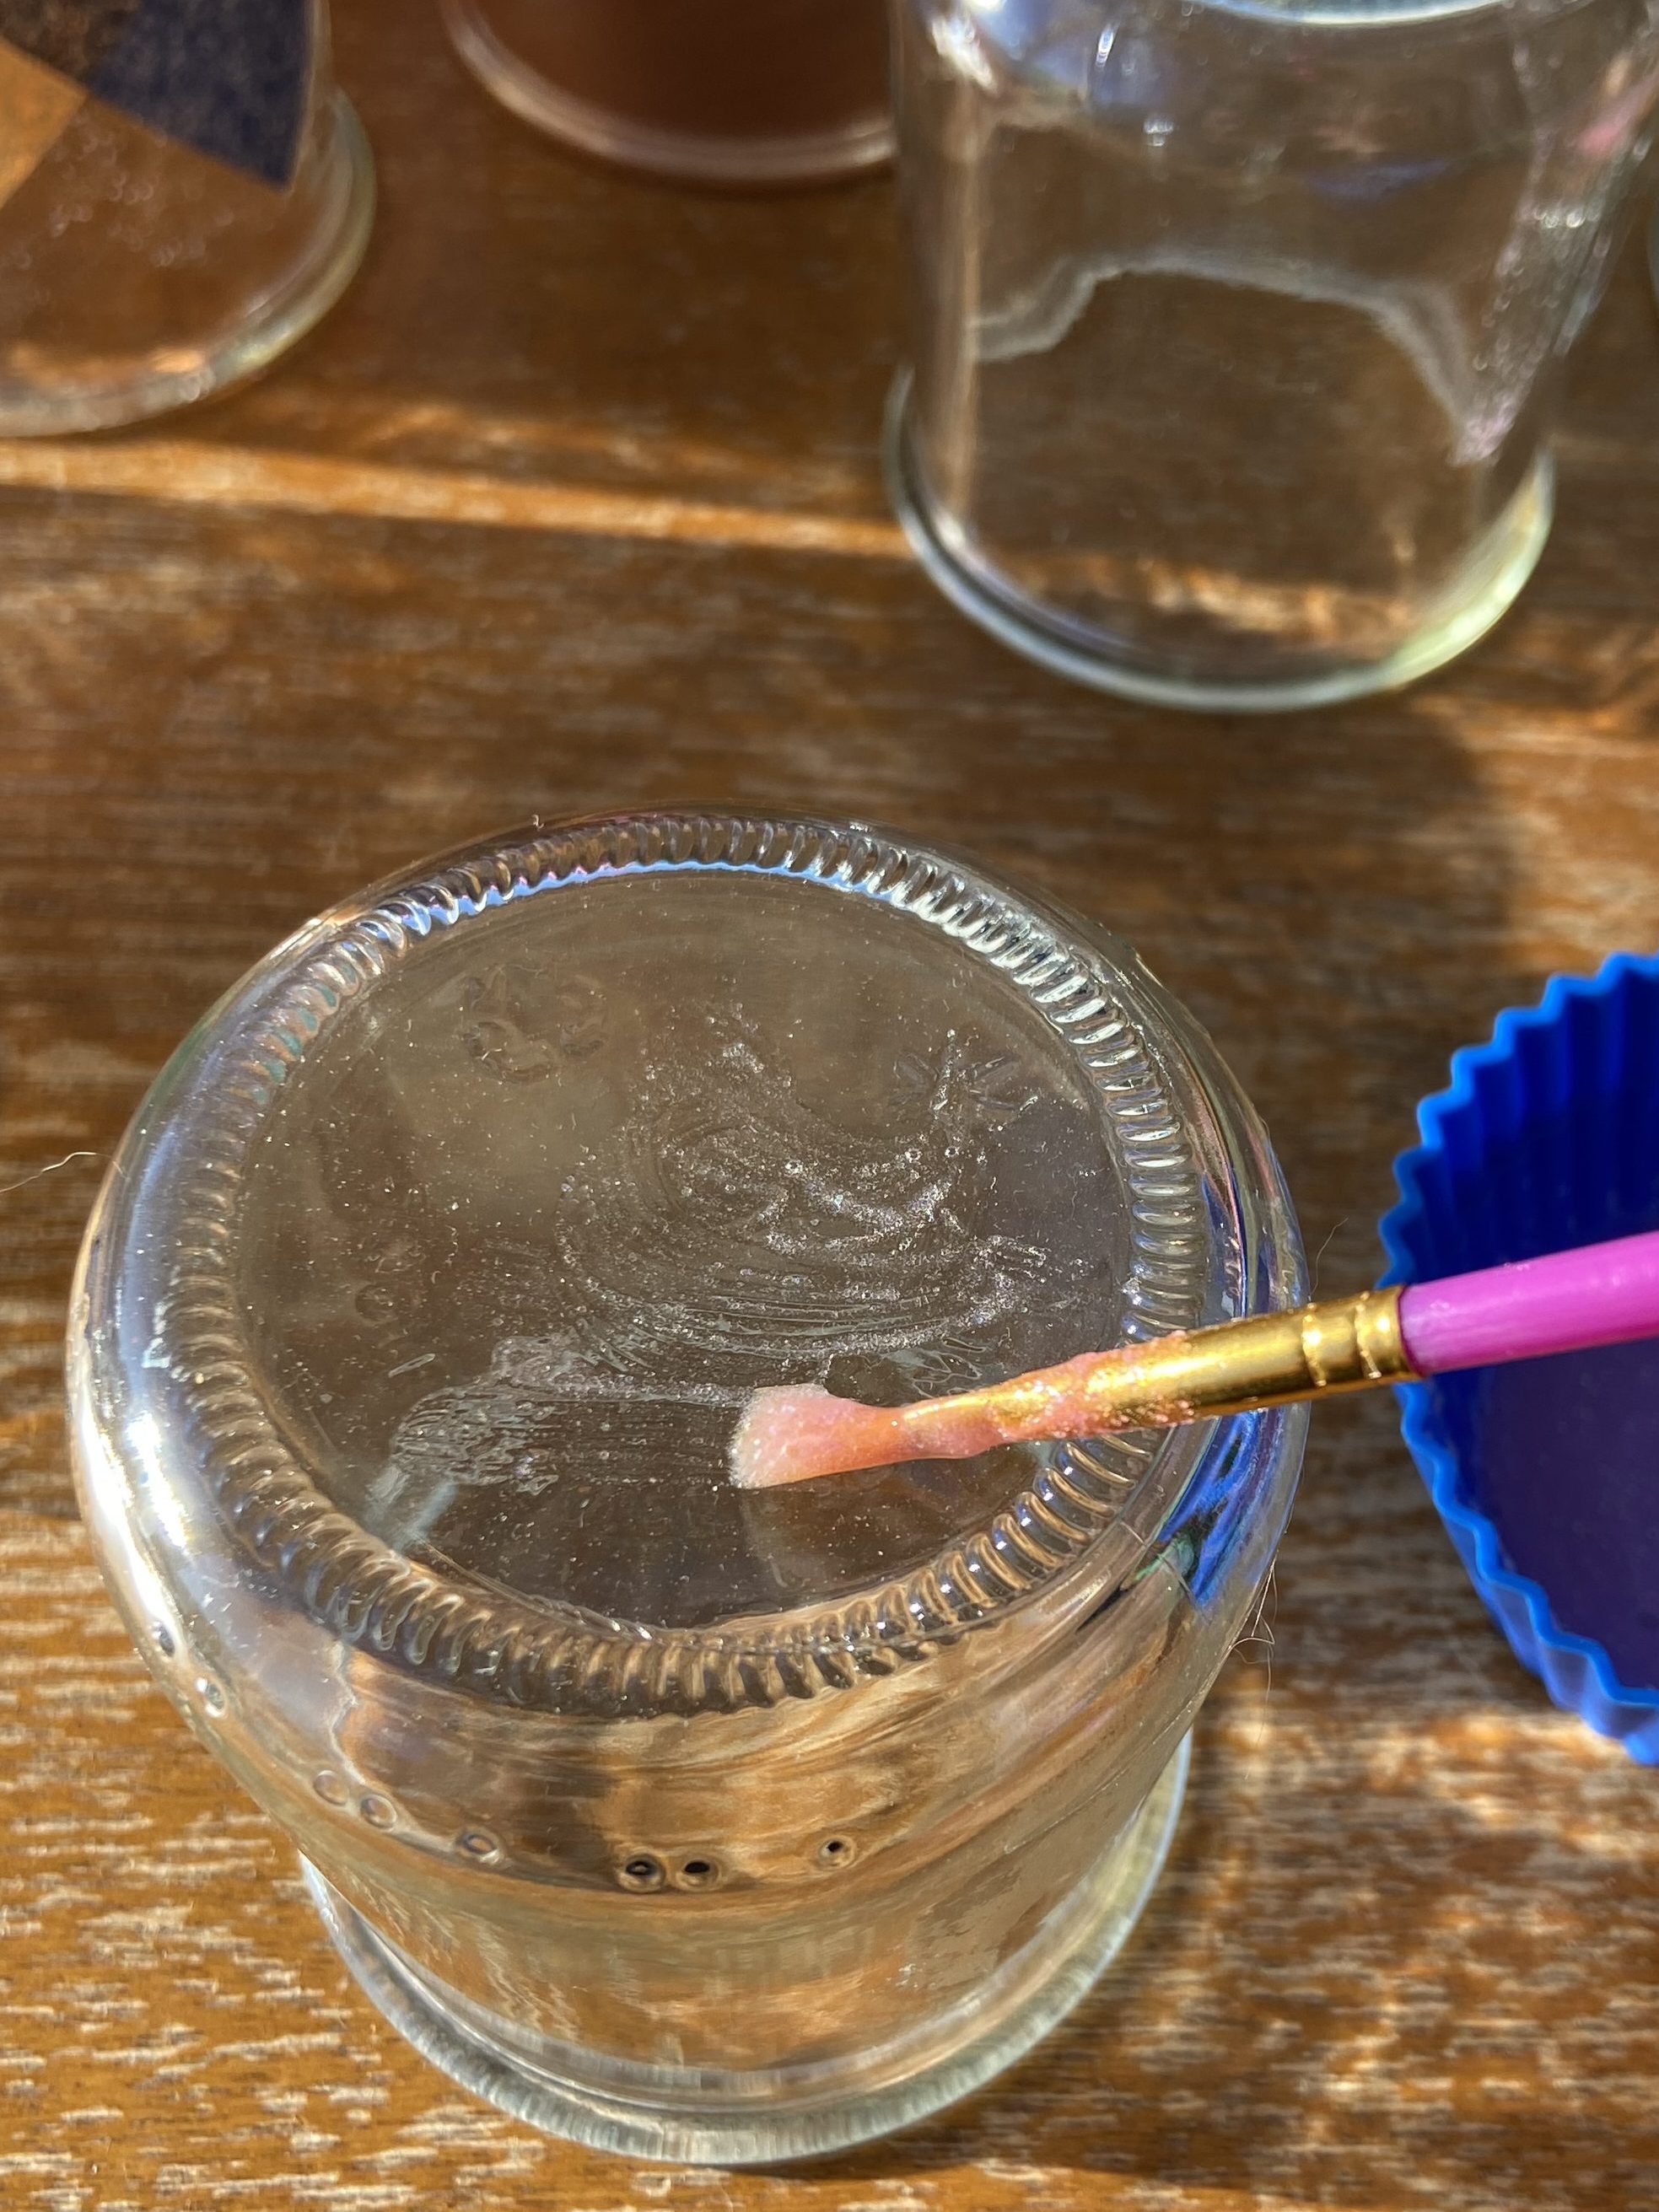
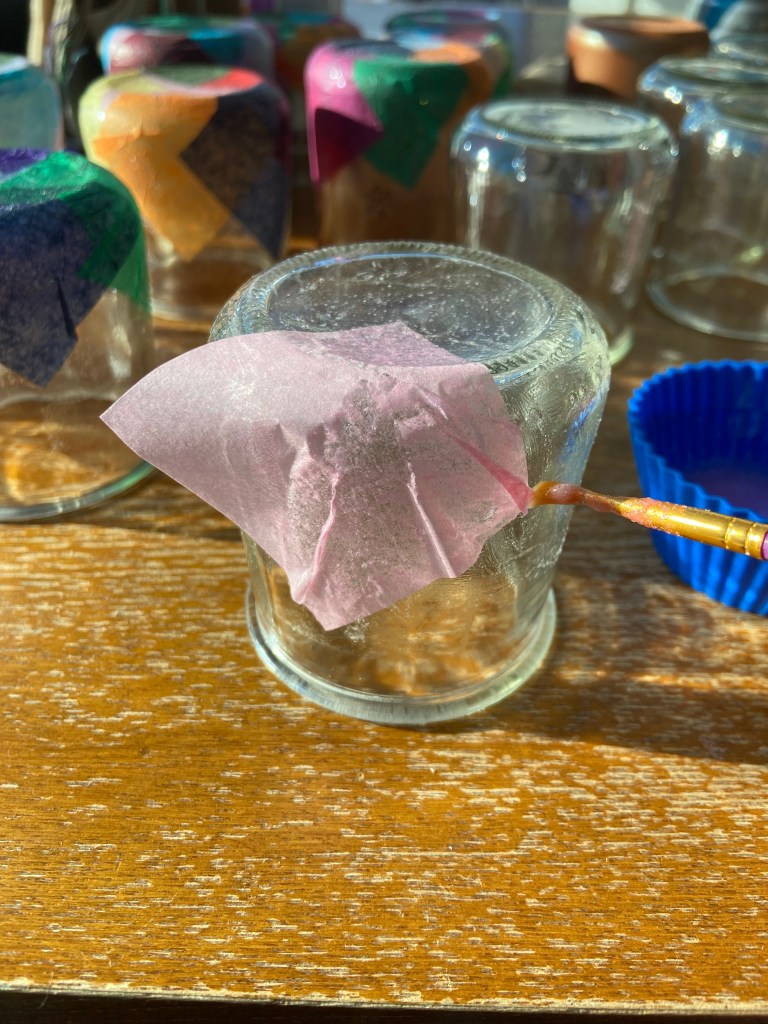
Then I grabbed a piece of tissue paper, stuck it to the jar, and added another layer of the glue mixture.
I continued with more sheets of tissue paper, sometimes overlapping.

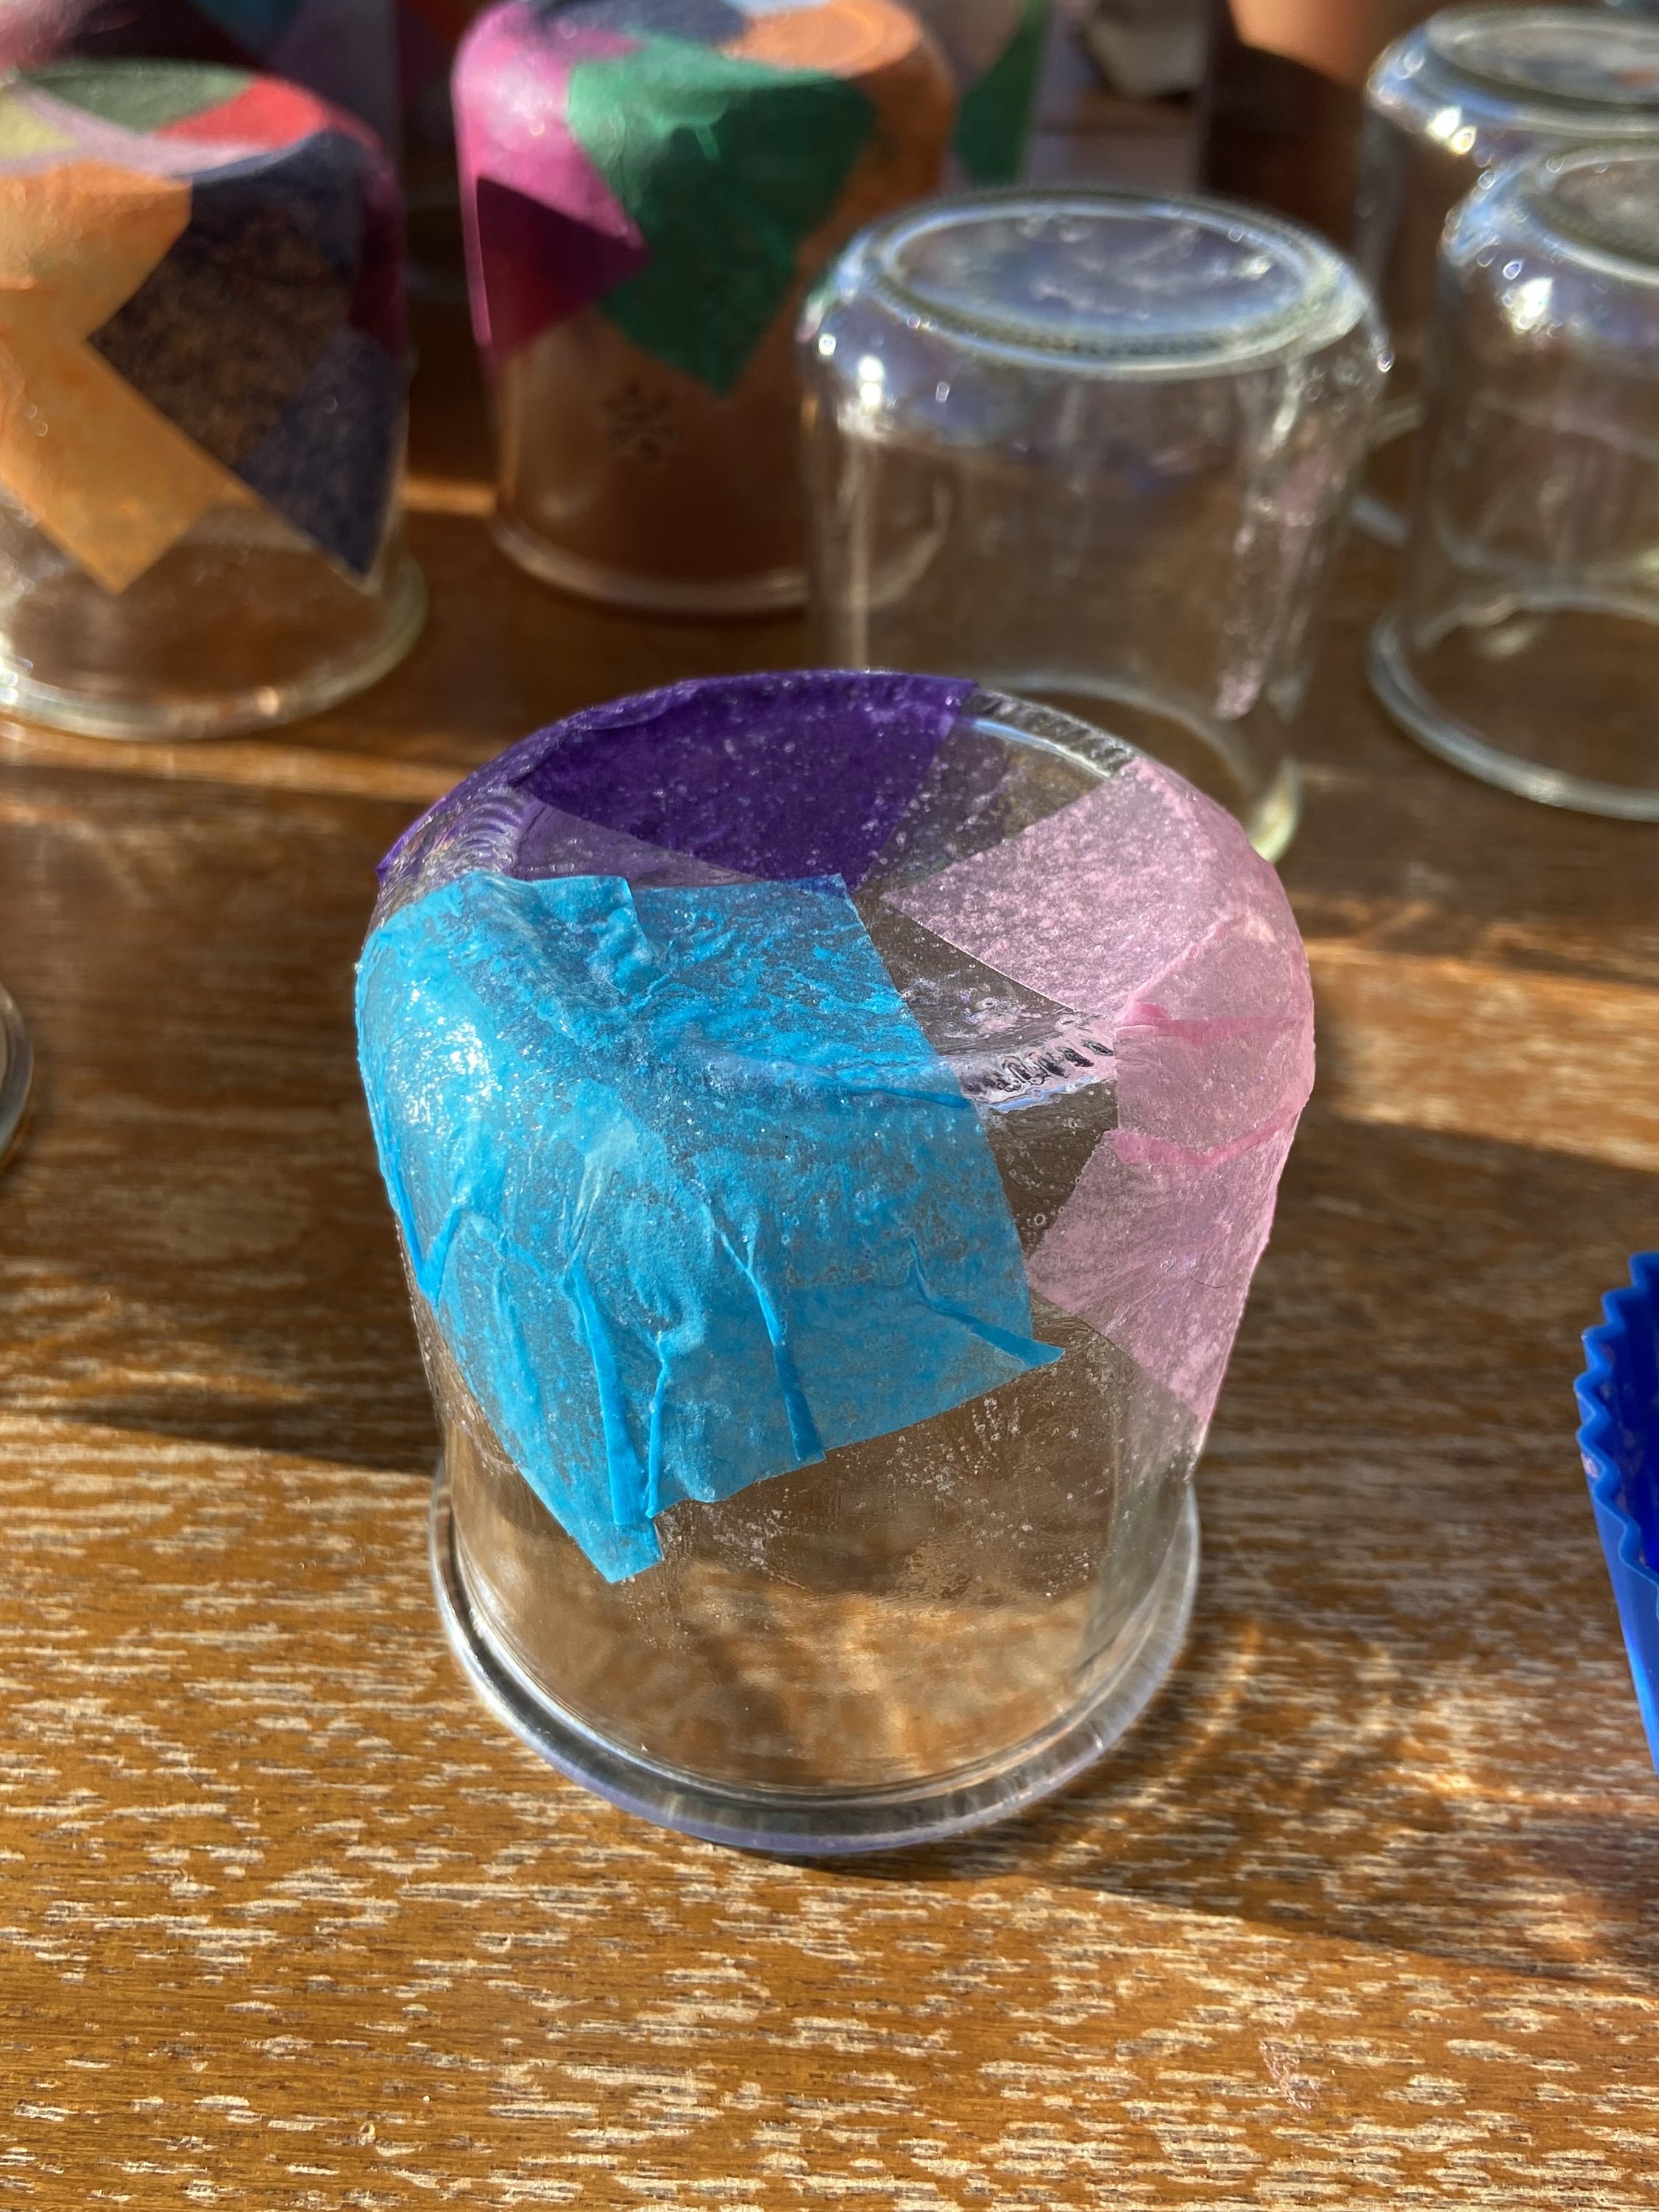
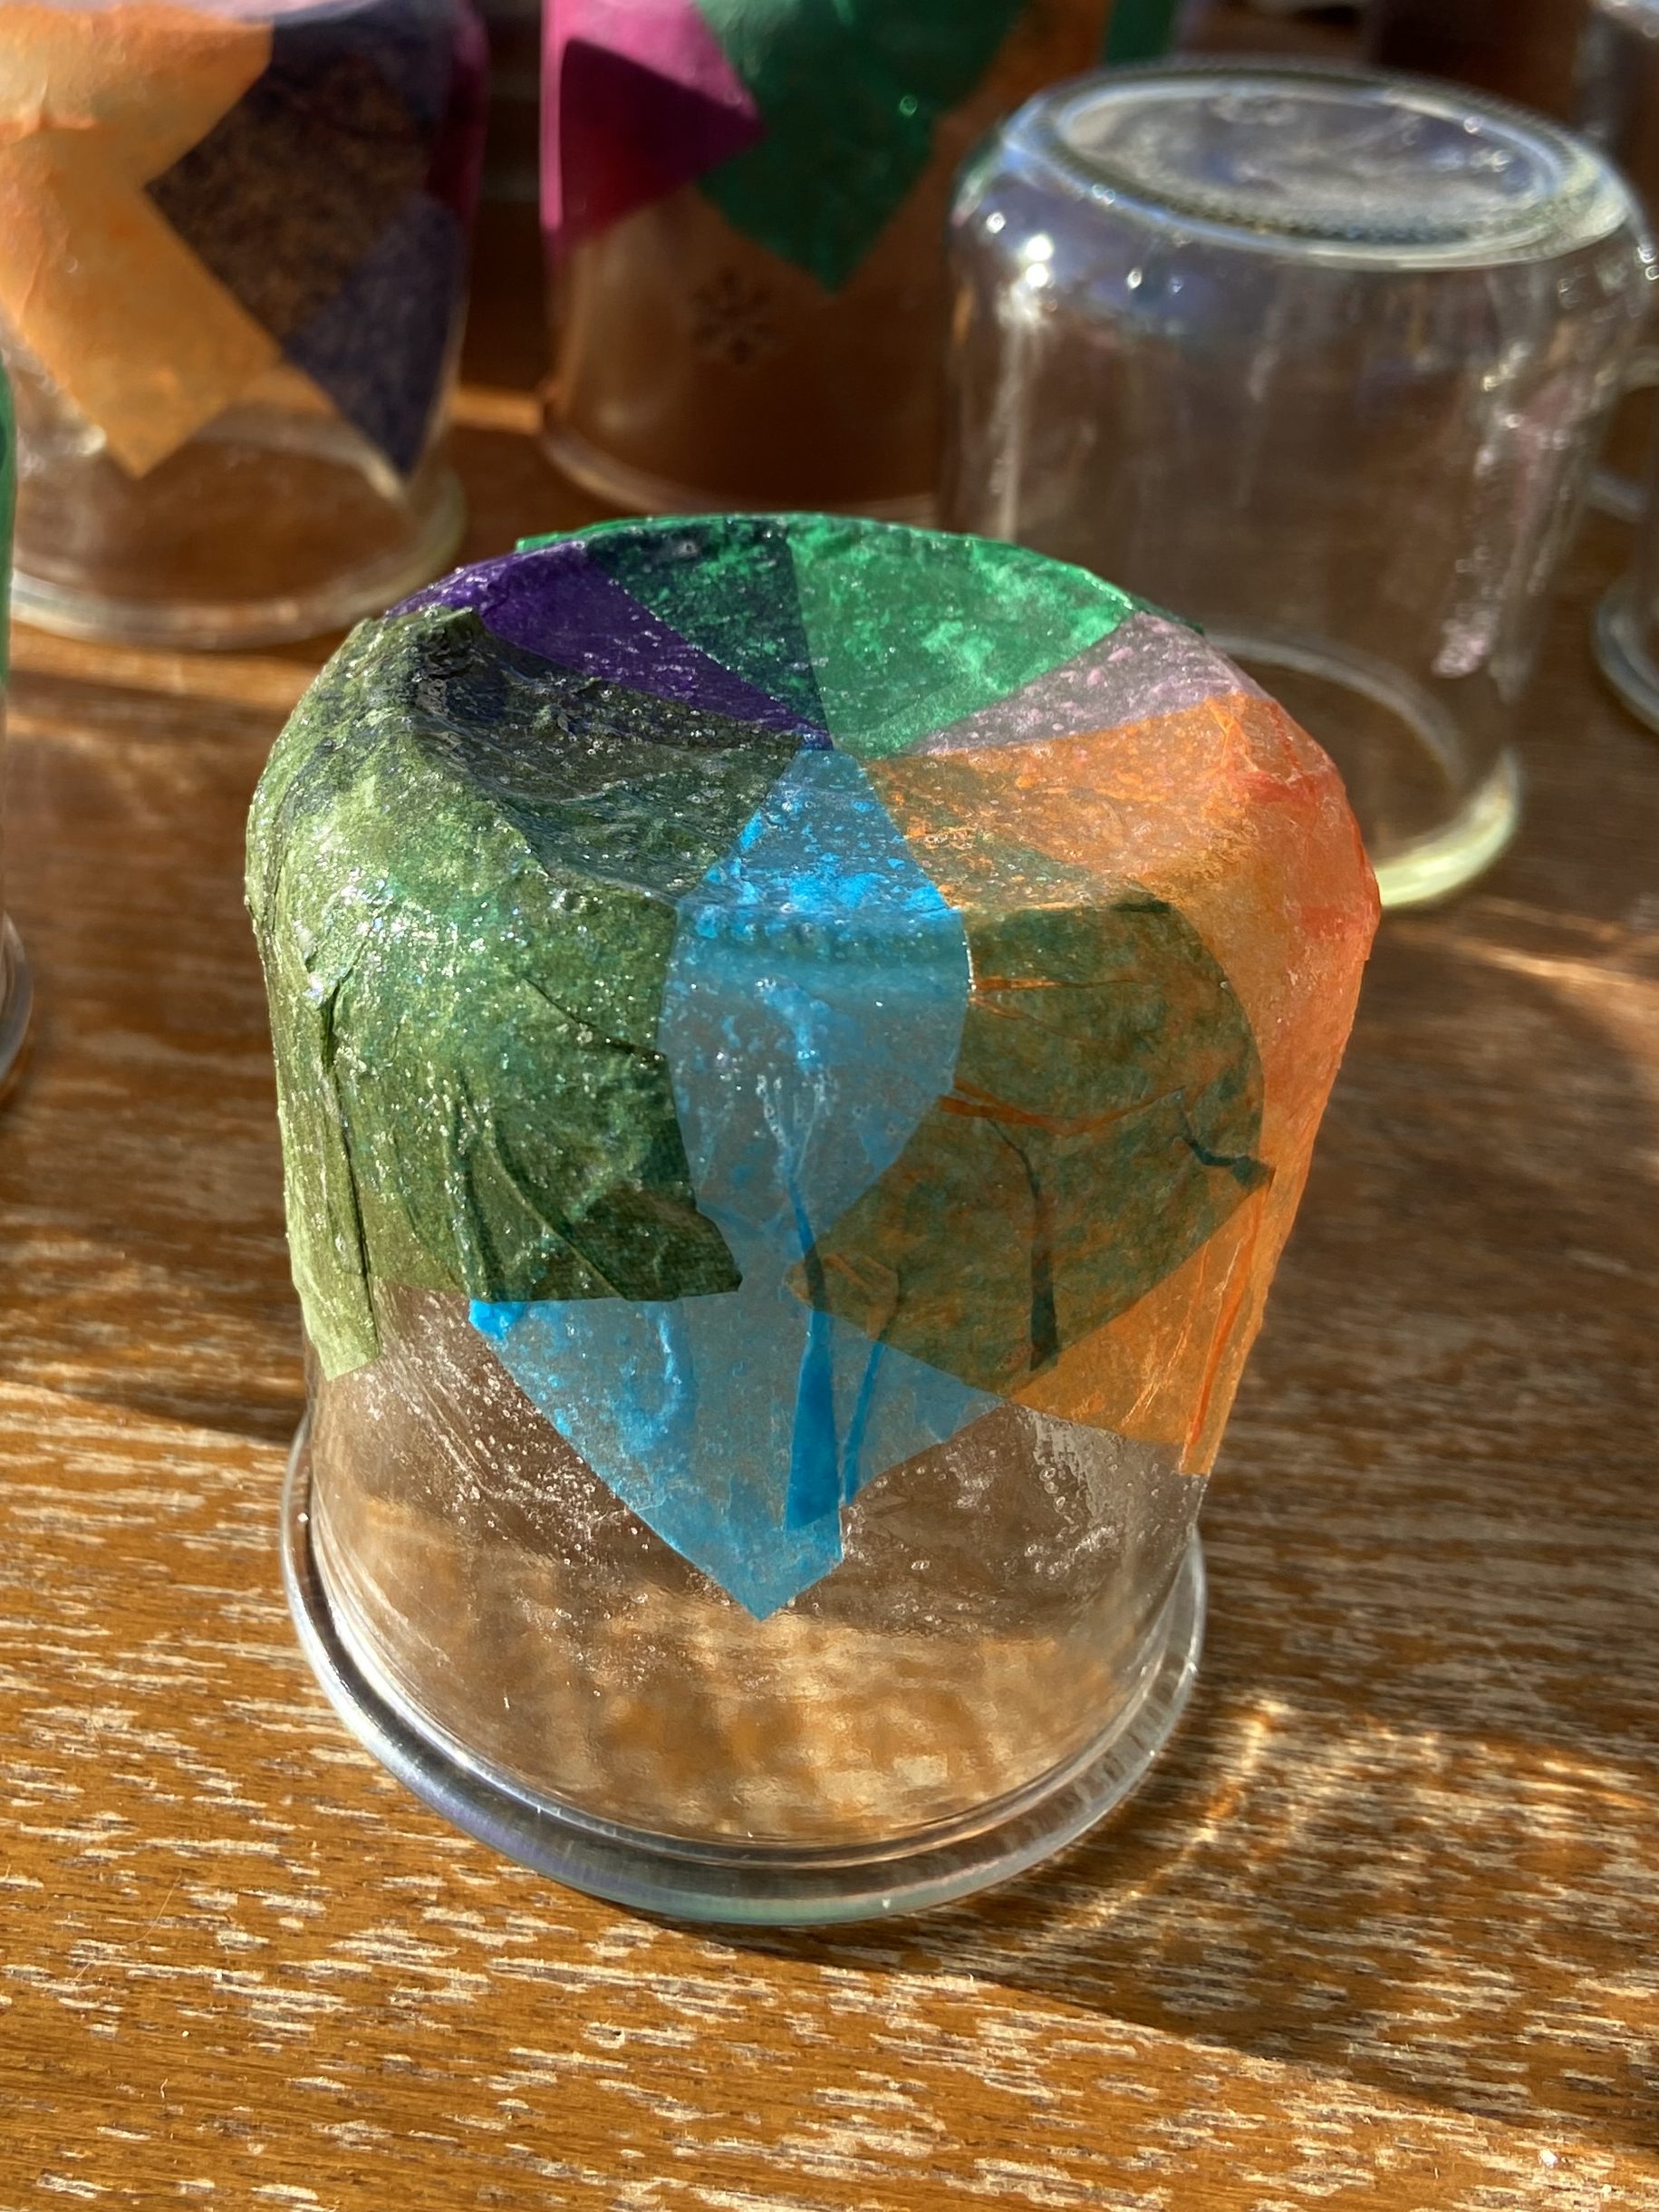
Let it dry. For me, it took about 45 minutes. Once done, it’s time to flip!
Repeat the same process of adding a layer of glue, tissue paper, and glue. For fun, I cut out a few shapes to add on top.
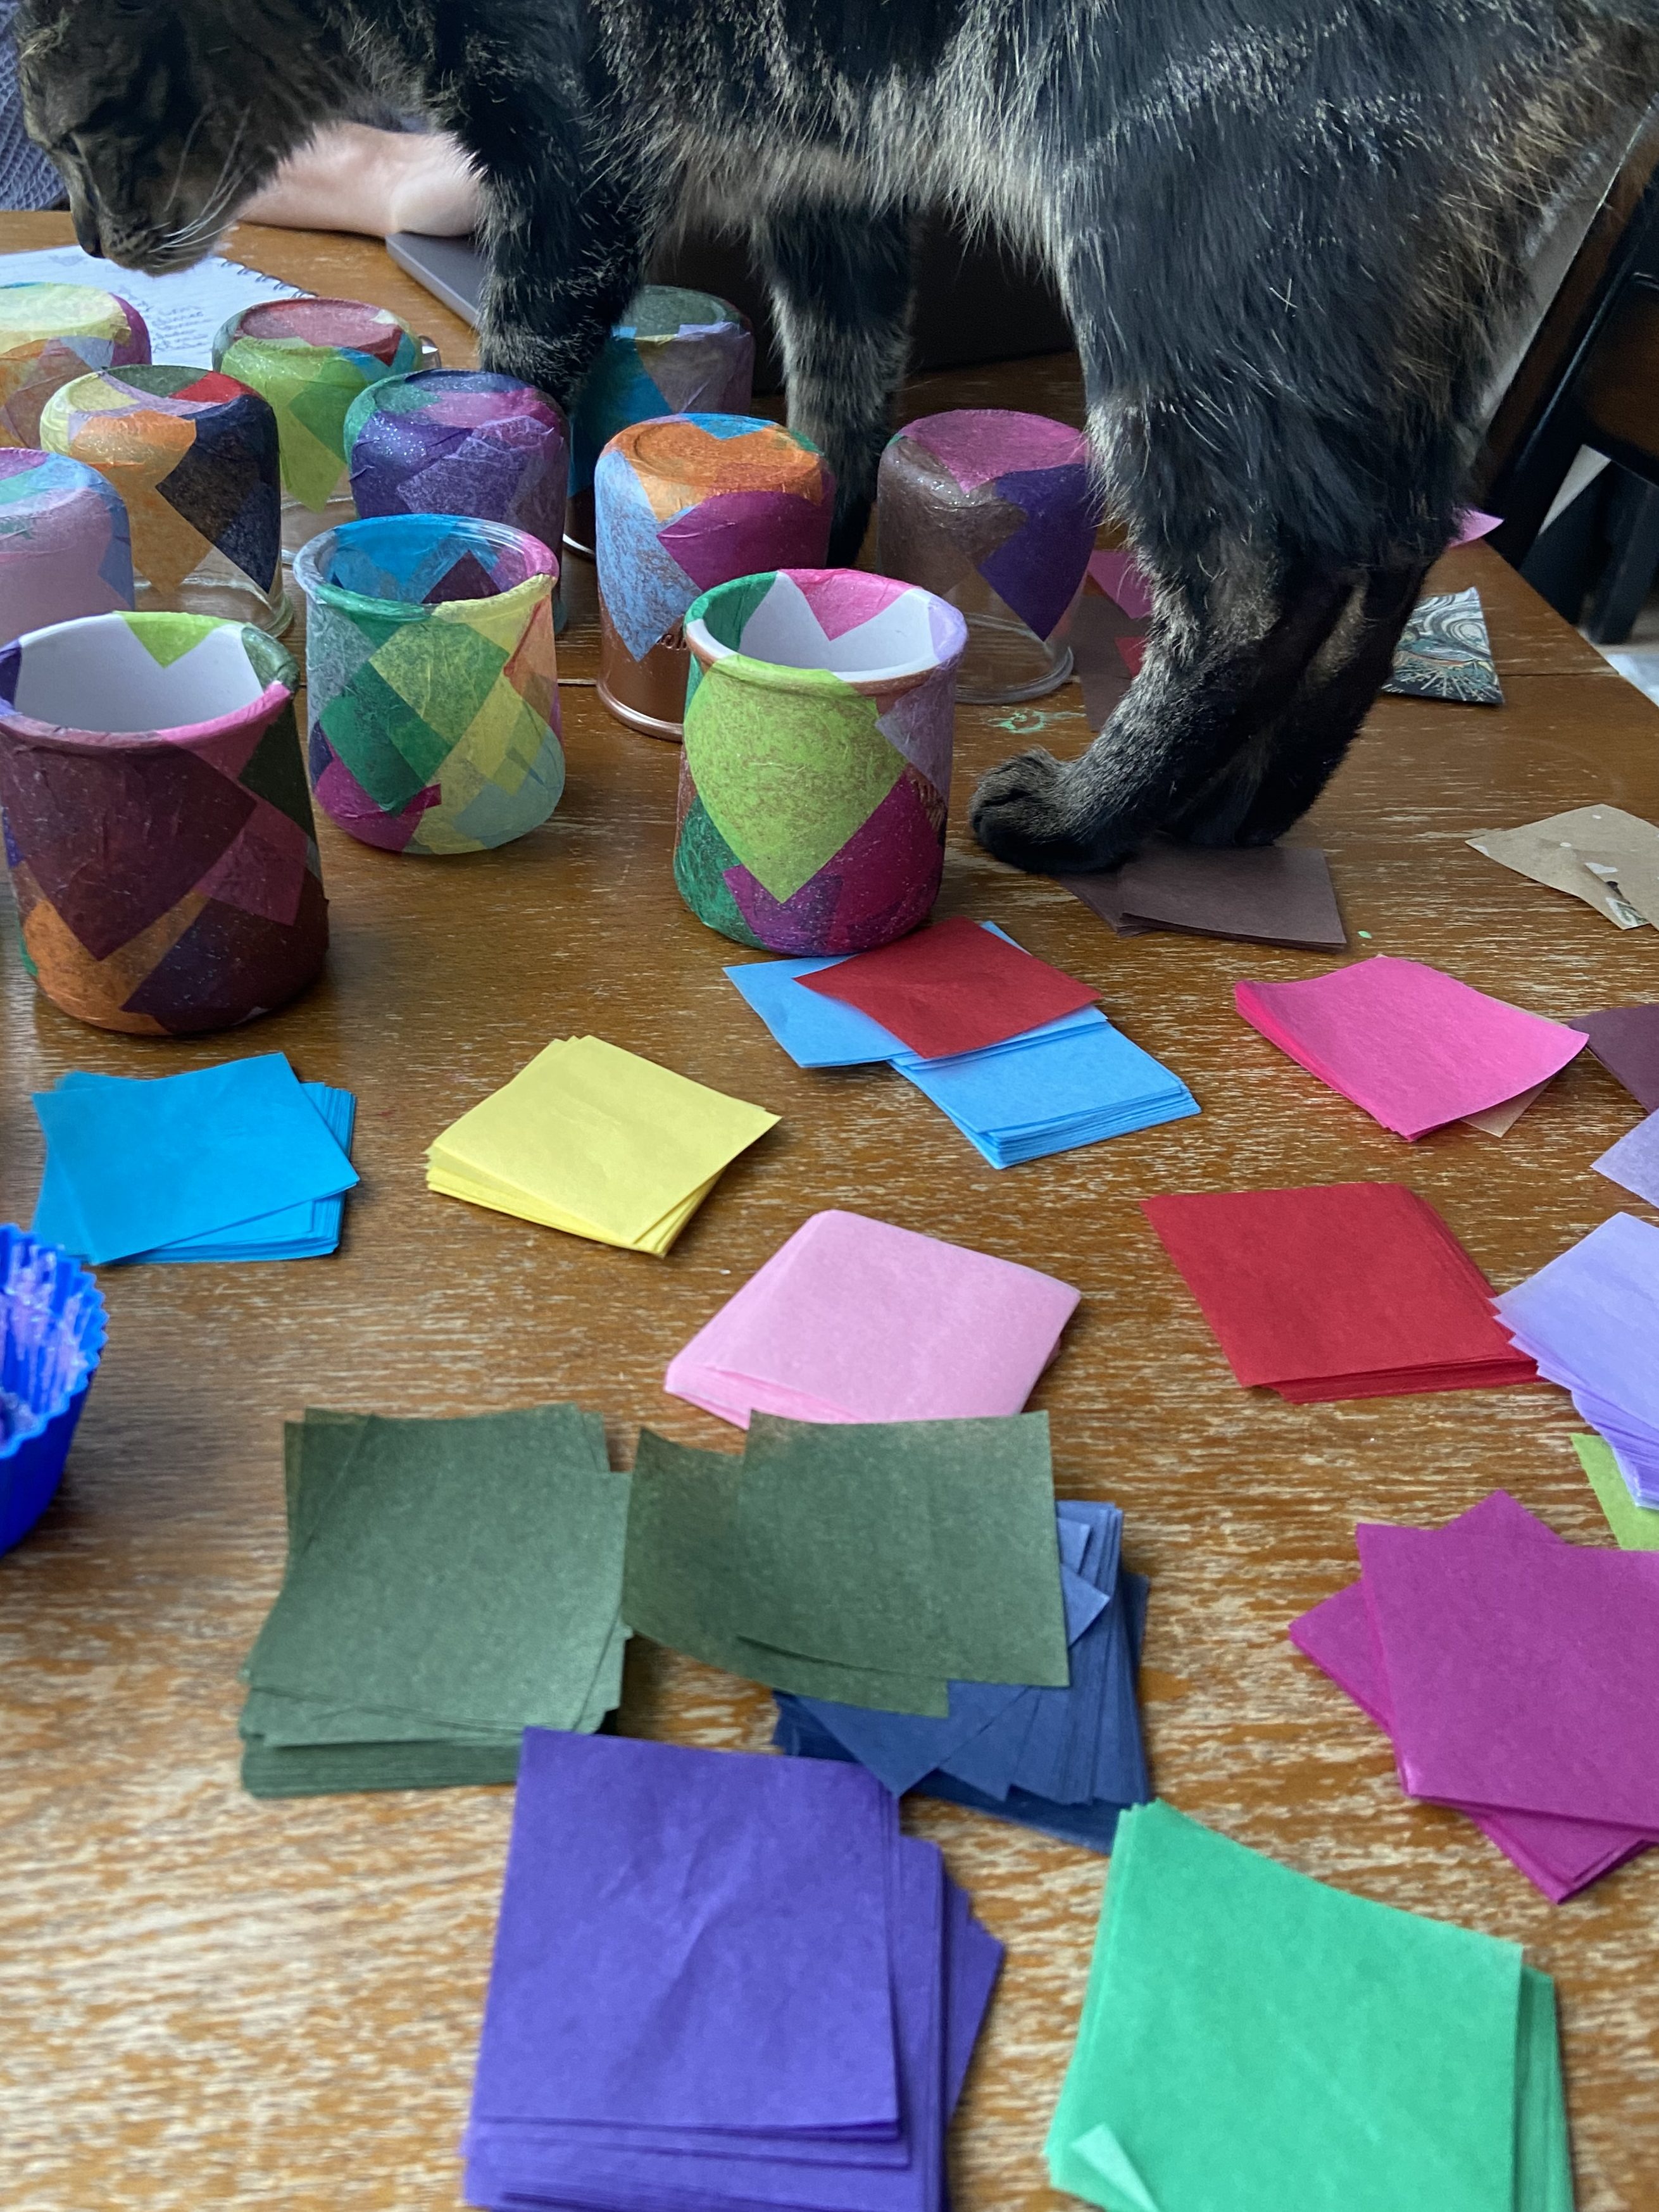
You can see our house manager cat taking a peek. I hope I have his approval.
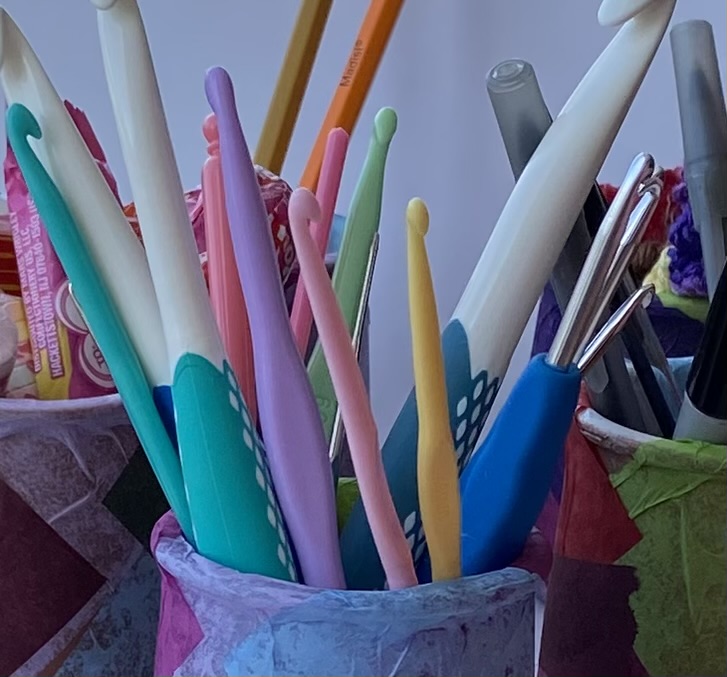
They are done! I used them to store pencils, candy, crafting items, and random things.
I might try some of the more complicated découpage crafts from the hobby store, and maybe one day I’ll figure out why there are so many different types of glue. I like using a glass base, but I’m curious about other mediums; I tried this on cardboard, hoping to make a picture frame, and it turned into paper soup. Bleh.
I’m also thinking about using different types of paper. I have tons of tissue paper to use up, which were also leftovers from an abandoned project of pipe cleaner flowers. I read about using napkins with fancy designs printed on them, and magazine cutouts, so maybe I’ll try those in the future.
I would love to hear more tips from crafters! I’m always trying to learn as I go.
